
Previsualize your wildlife photography Encounters
Previsualize Your Wildlife Photography Encounters
In this blog post, we are going to be talking about pre-visualizing the types of images you want to take during your wildlife outing. It is the single most important element in your pre-trip planning, and by going through this exercise you will be preparing yourself to take better photos on your next outing and help you bring your photos to life in your post-processing.
This is something we always do before we leave on a trip, and on more than one occasion this technique has reminded all of the pros at Akari Photo Tours to look for key animal behaviors that we wanted to photograph.
Pre-visualization comes directly out of your research. As you watch videos and look at photos, it is inevitable that you will start to formulate opinions on which images you like, and what you don’t like. For the images that are showcasing unique animal behavior, we start by saving them in a photo folder to make sure I have access to them closer to when my trip comes. We will also keep these on my phone while on my trip. We find it is a good exercise to flip through these images each morning before you head out. Just do it over breakfast.
If you make this part of your daily routine It will keep your wish list top of mind. You can also use them as a communication tool if you have a guide. Instead of explaining what you want to photograph, show them your images. They can help you make these images a reality. Let’s take a look at how this works in practice.
Lynx have massive paws that allow them to walk on snow as if they are wearing snowshoes. They lift these huge paws when they walk. It’s a very unique characteristic. As I looked at my saved images before the trip, I identified that I needed to be low to the ground, and photograph them as they raise their front paws off the ground.
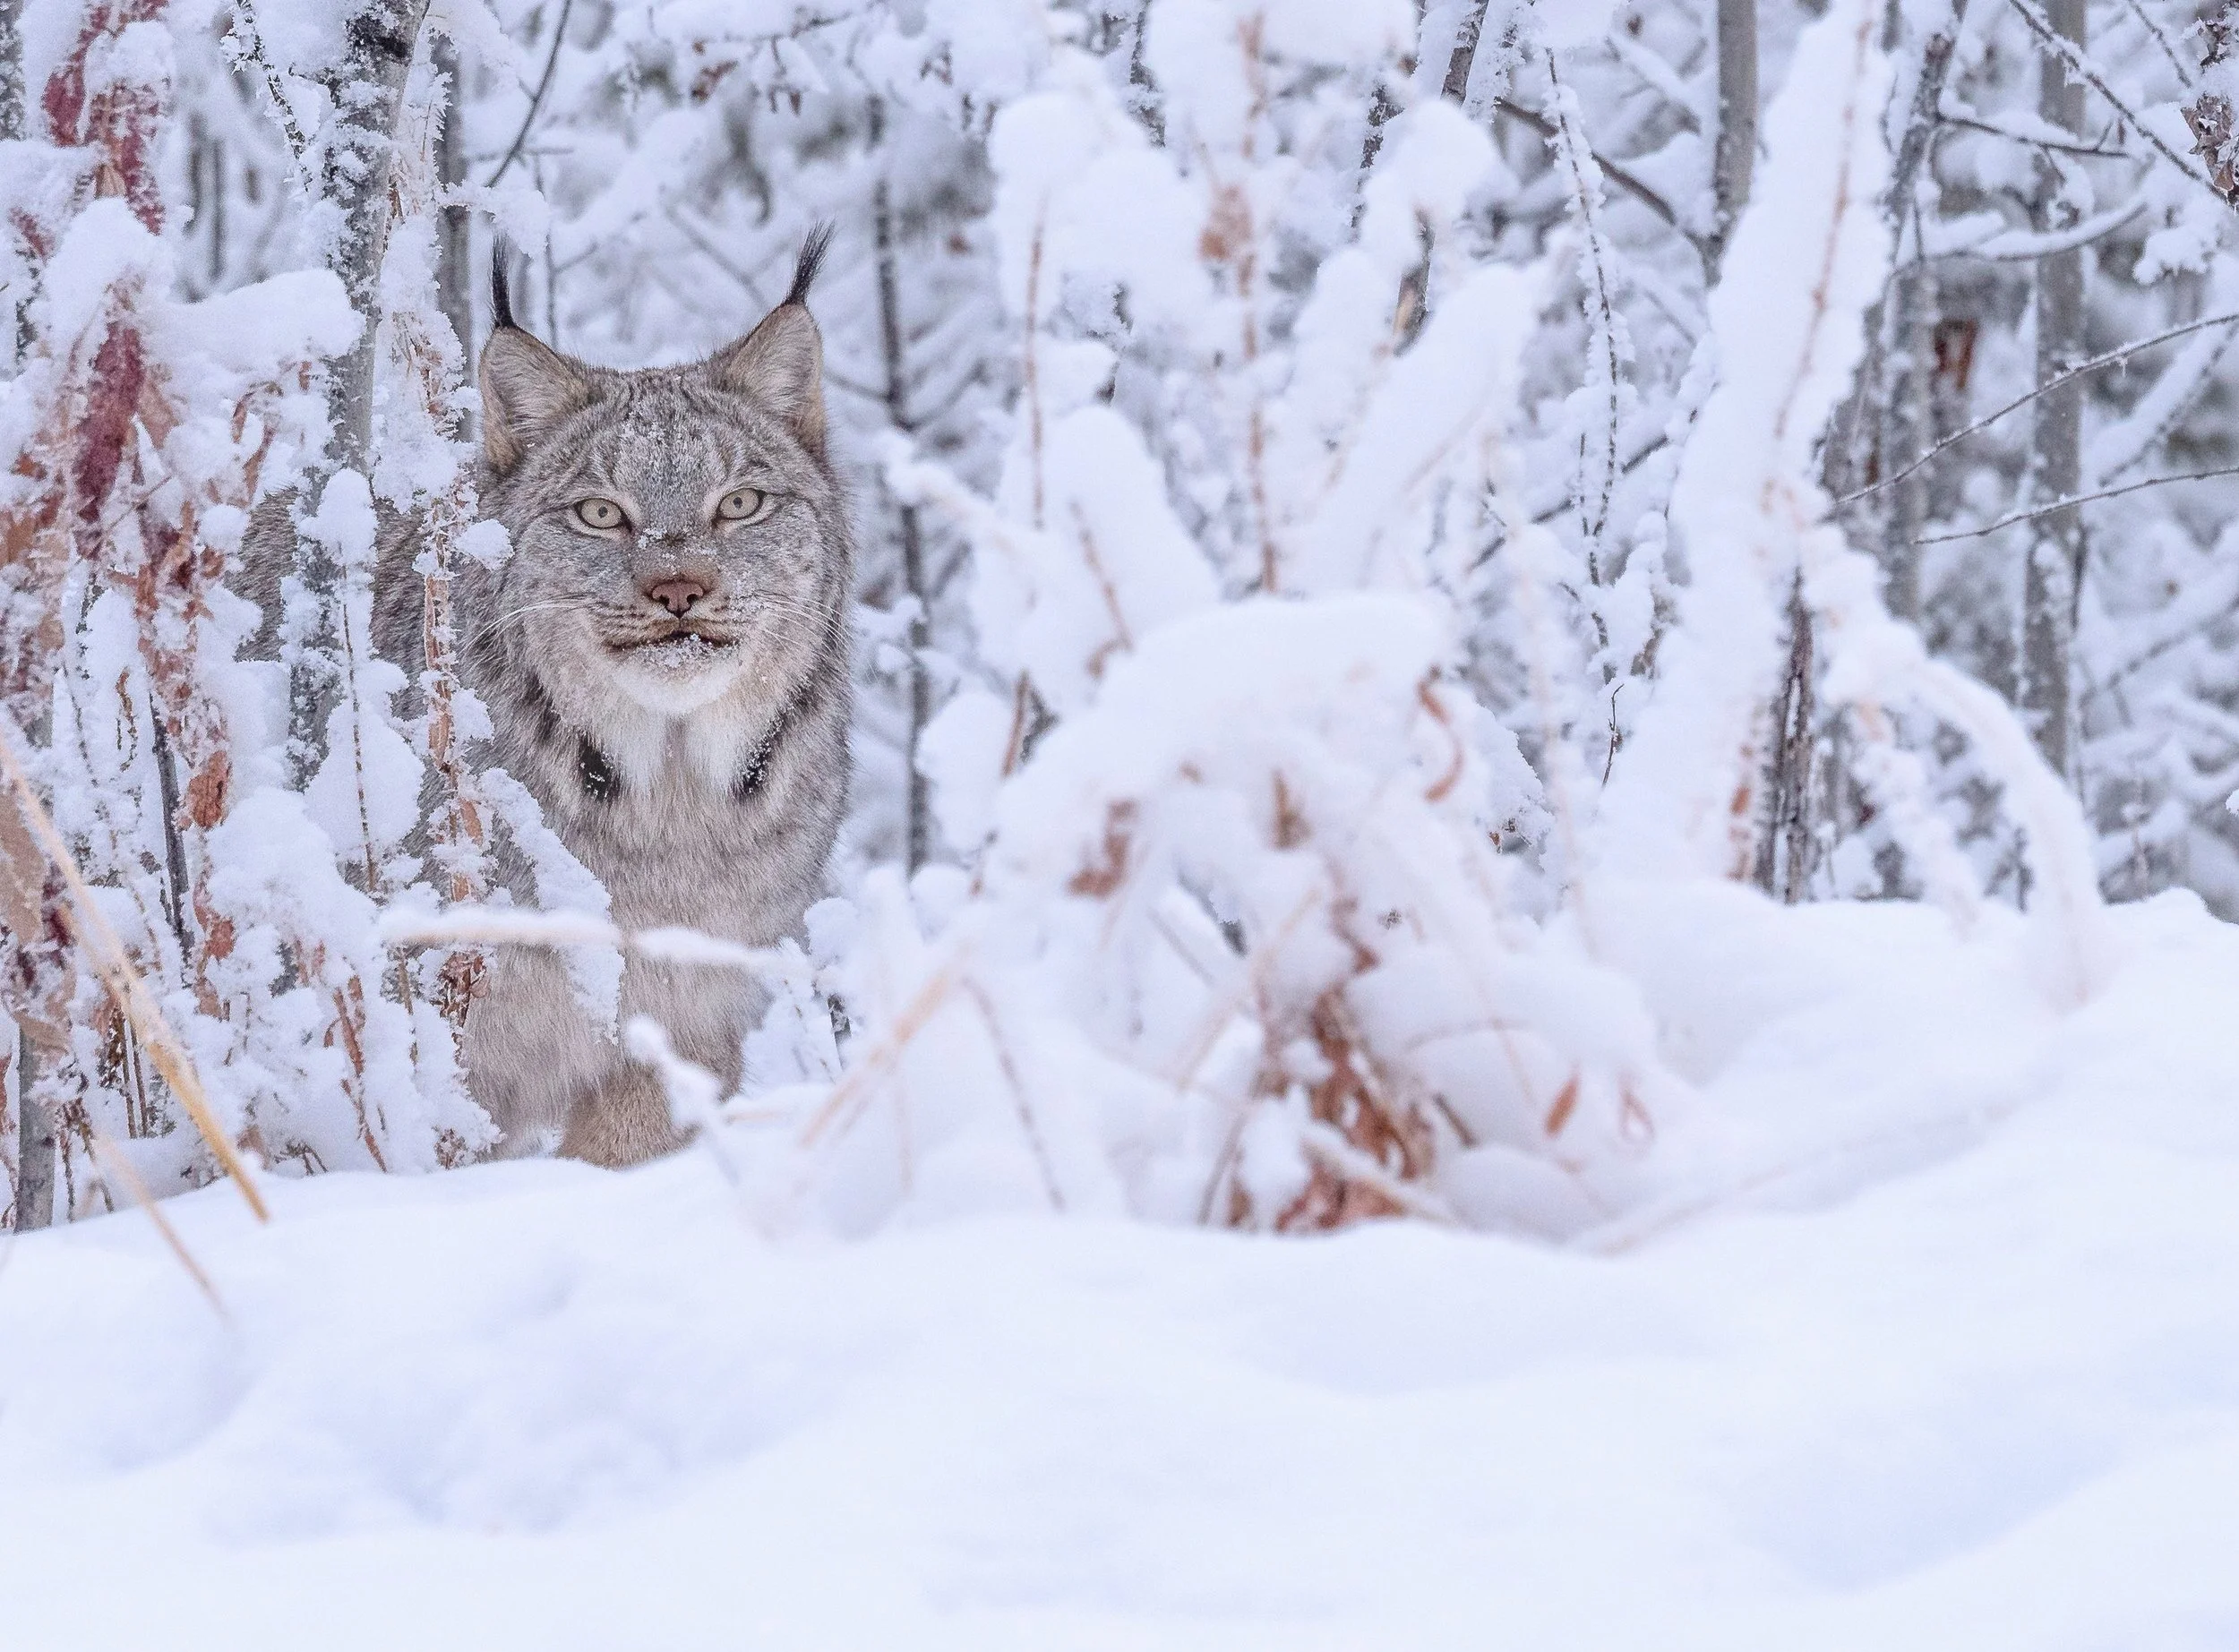
Lynx have this sweet face with very distinct coloring. Within this face, Lynx have piercing eyes that would create a powerful connection – I needed to keep this in mind and capture direct eye contact to create a connection with their piercing eyes.
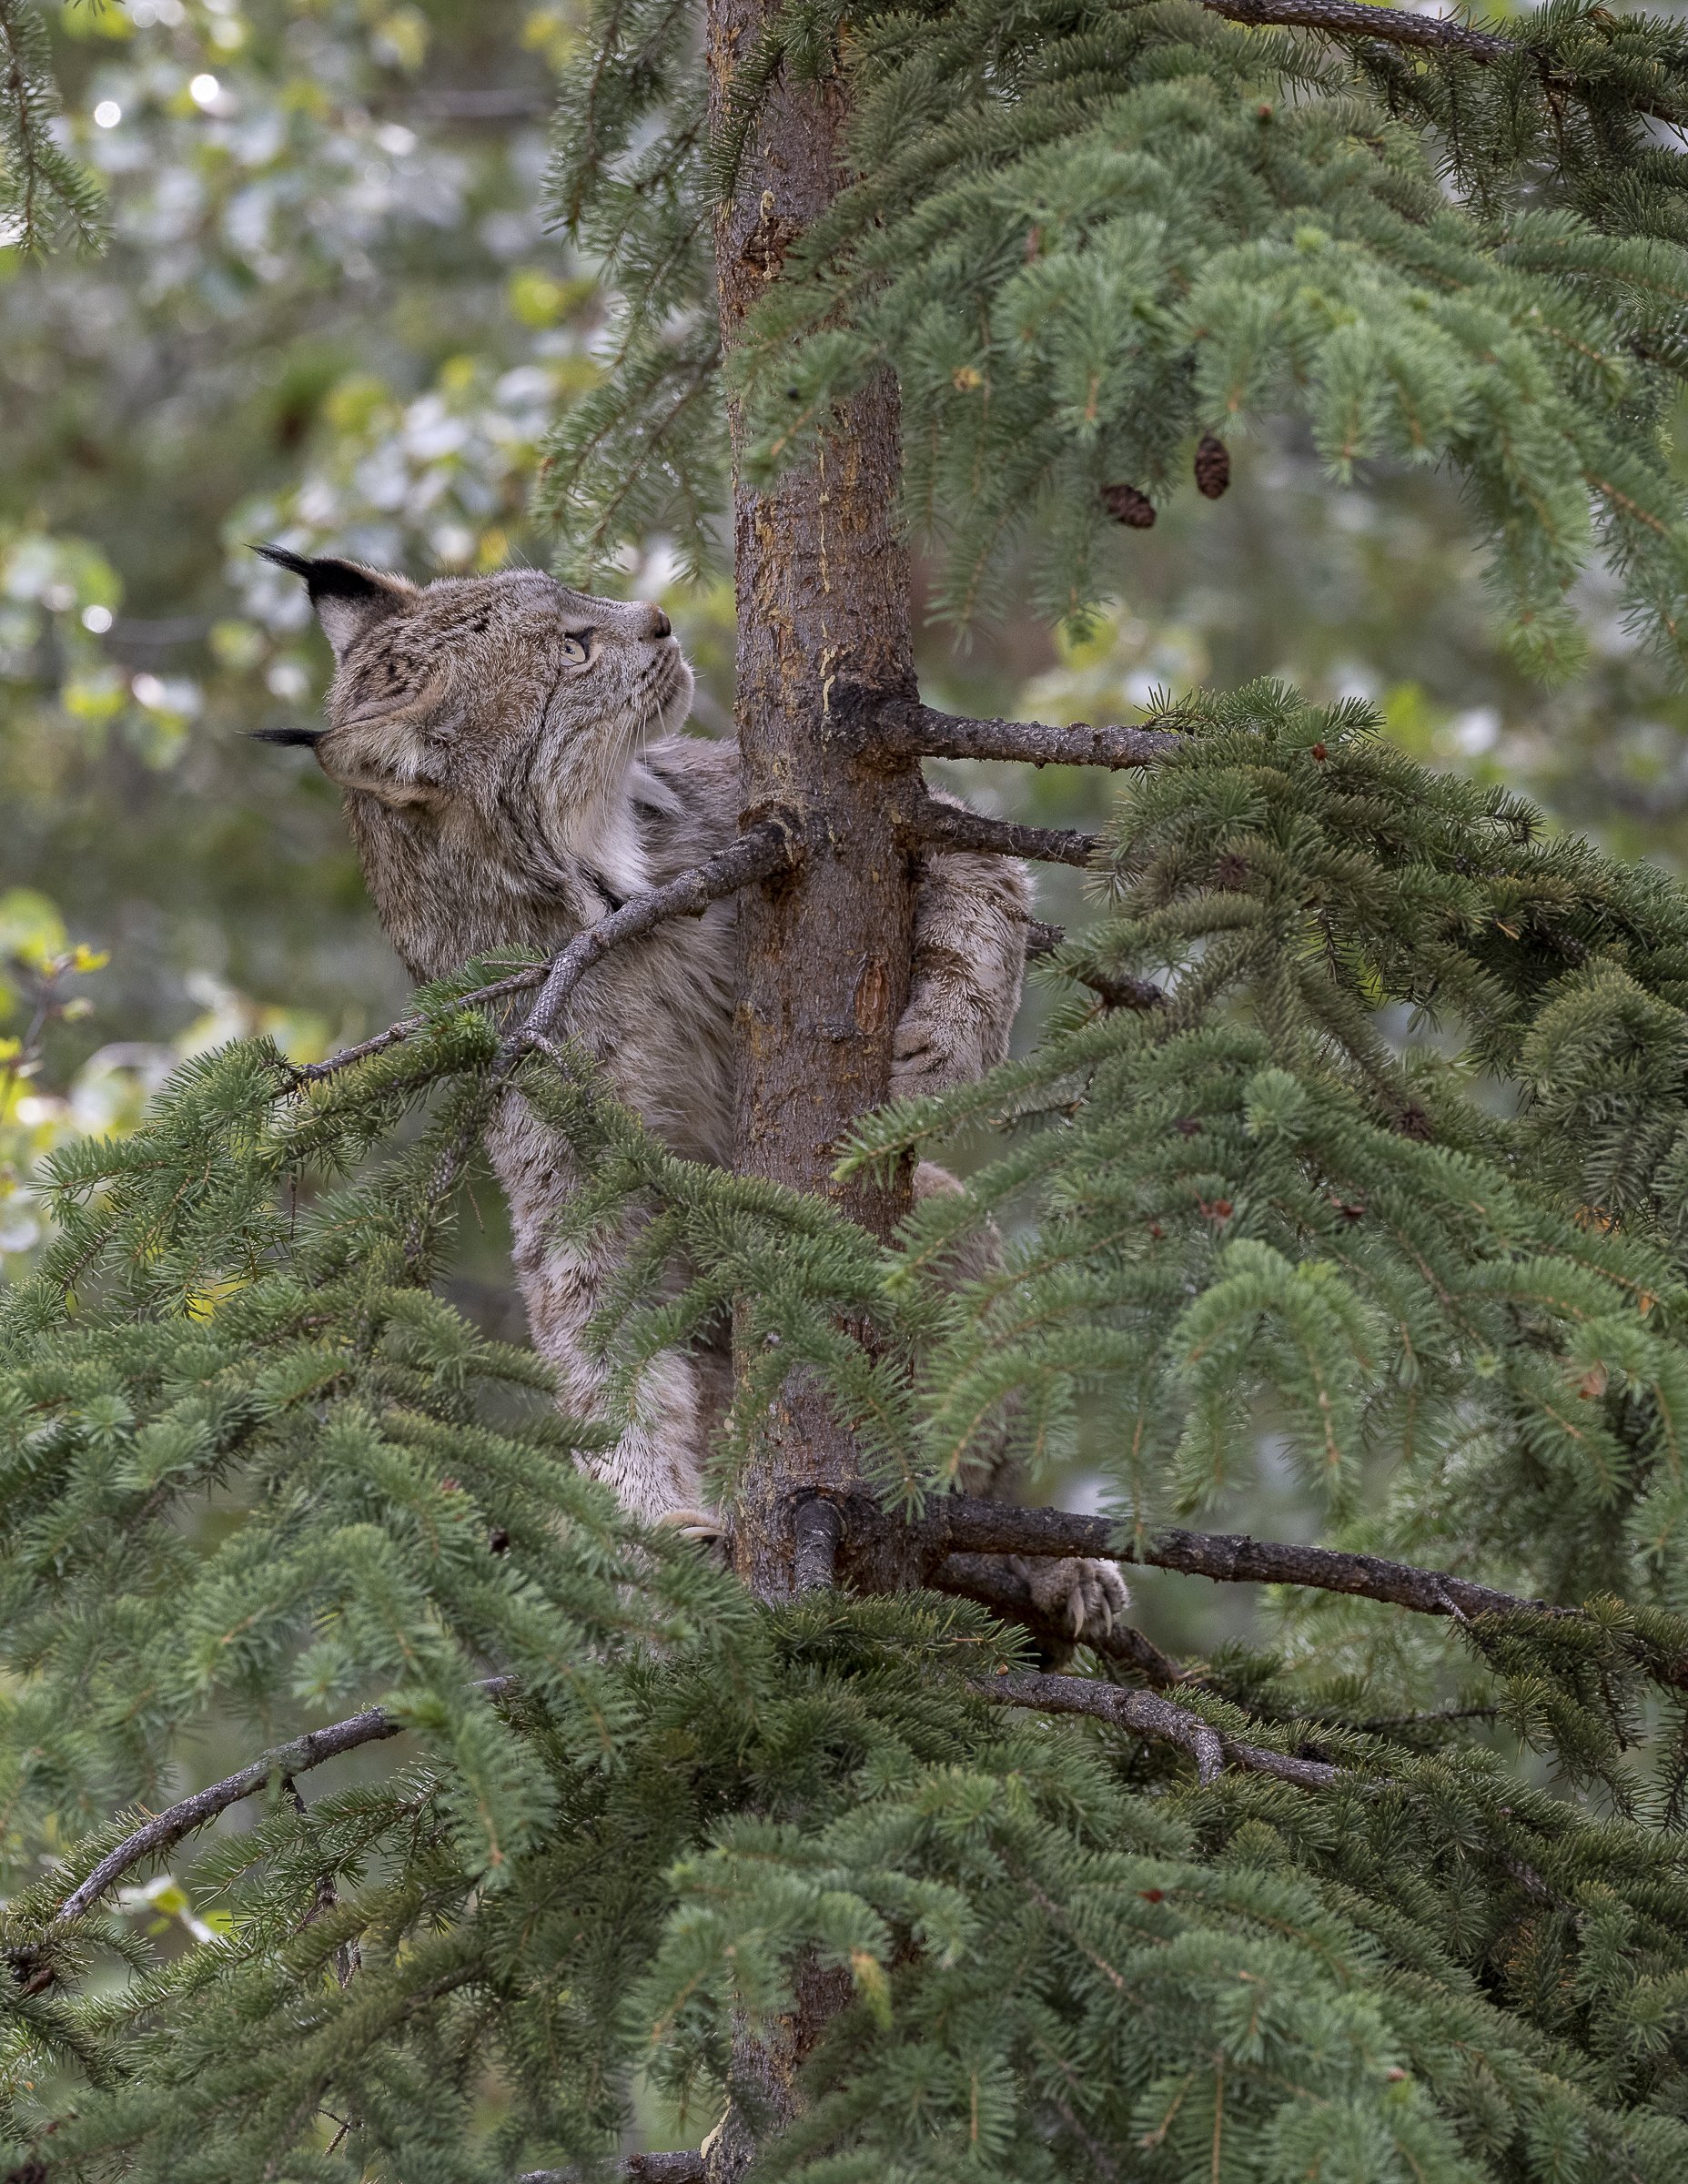
During the pre-visualization exercise, we learned that the Lynx does not only hunt on the ground, they also like to climb. We needed to remember that and watch for this behavior when I was out in the field. We did not want to be caught off guard if this occurred in the wild.
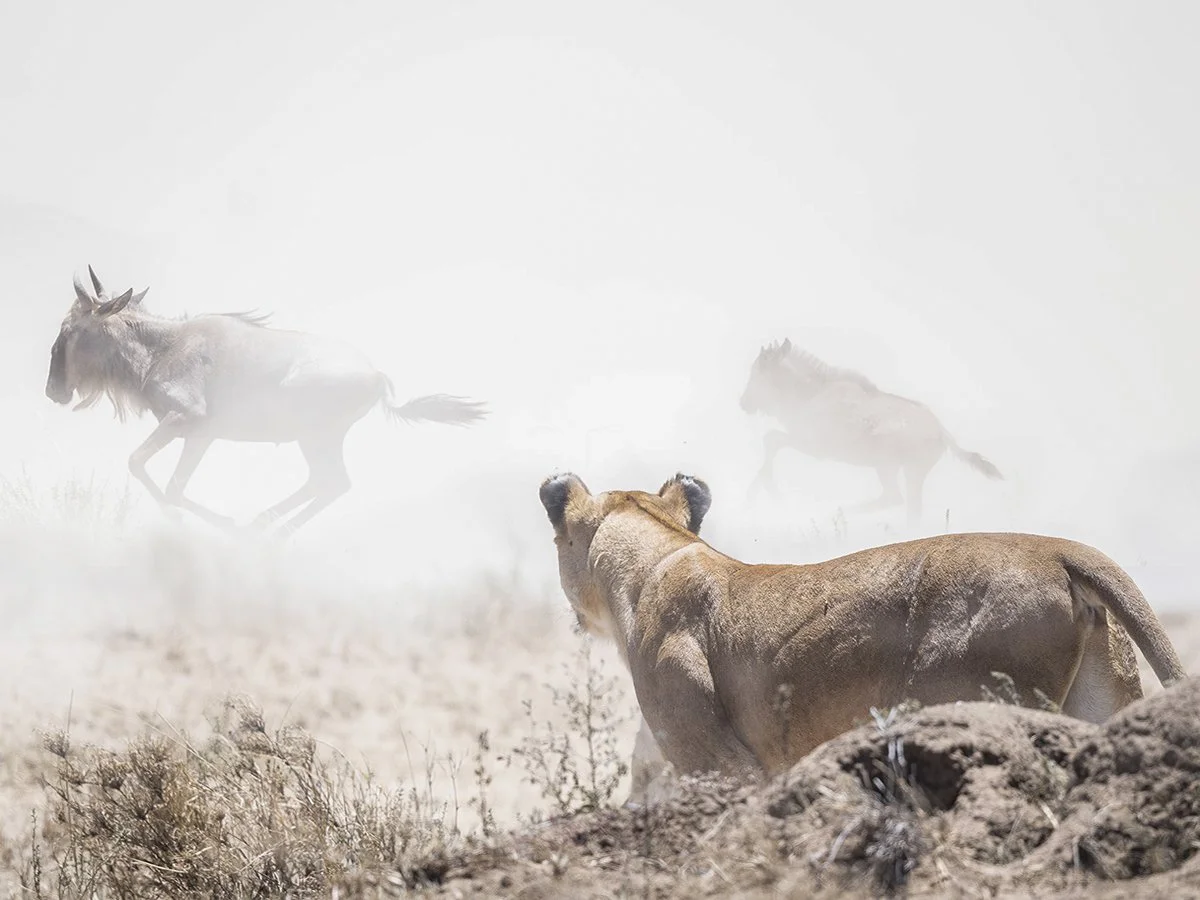
We saw images and videos of Lynx running. We were immediately drawn to their long body and strong rear legs that they use for propelling them after prey. – we wanted to show off those powerful legs.
Keeping this wish list top of mind is simply not enough. While you are pre-visualizing images for your trip you need to envision what techniques you are going to employ to capture them.
You are going to start to think about the gear you will need to photograph the Canada Lynx. – long lens vs short lens – Action photography will require cameras with higher frames per second – I want to be nimble, so I probably won’t be using a tripod.
What is the POV required to capture the attributes I pre-visualized? - Will I have to get low? If I am in a blind to hide, how do I stay hidden while on my belly?
What depth of field will I need to use? – Using Photopills, I started to look at apertures I needed at different focal lengths and distances to have a Lynx in focus from front to back.
What shutter speeds would I need if they run? – My research showed me that Lynx's top speed is 80km/h (50mph). What shutter speed would freeze that action? I needed to keep that in mind while in the field.
If you need an aperture of ƒ5.6 at 200' to have the Lynx in focus, and I needed to shoot at 1/1600th of a second to freeze the action, what ISO would I need to anticipate using? – If I was in shaded areas, how is my camera going to handle ISO1600, upwards to ISO6400? These high ISO’s can be a scary thought for some. If this is something you are going to face, maybe you need to understand how to shoot high ISO’s before your trip. Go out and practice shooting techniques like. “Exposing To The Right”, (ETTR) that we will address later on in this course.
What are the background challenges that will be encountered? – Lynx are often found in forests and can be a challenge. Keep that in mind, you can even start to look for images that you like that use this environment to your advantage. Then watch for that opportunity in the field.
Will I struggle with tangents because of trees? Is there snow? What settings in my camera will help me take photos of darker animals with bright snow surrounding them? (psst… the answer is adjusting EV compensation)
Will I need a blind? – Depending on where I find Lynx tracks, I have to remember that I may need permission to erect a blind.
All this research may seem like overkill to a lot of you. If it does you're probably a more experienced photographer and this may be second nature to you. Some of you may be hearing this and think it is a daunting task. But the research and pre-visualization for any photo outing will decrease as you gain experience.
Regardless of your experience, it's always a good exercise to go through. Remember when we said at the beginning of the research section, “Would you walk into your final college exam without studying?” Why would you leave your photography success to chance when you spend thousands to go photograph an animal?
Now we want to recap so we don’t forget any steps in this very important part of your pre-trip research.
Pre-visualization is going to come out of your research as you are looking at images. It is something we do before every trip.
Create a folder of images on your smartphone, and refer to it often to keep this wish list top of mind before, and during your trip.
Pre-visualization is not just an exercise you do to identify photos you want to take. It also serves as a catalyst to help you prepare for situations and photography shooting techniques that you will encounter in the field. It will help you prepare by going out and visiting zoos to identify species’ behavior and try photo techniques that you may not be familiar with before your trip.
Using his method can be the single most important step in helping you learn photography techniques. you might not be used to. It will force you to begin to learn these shooting techniques before you are out in the wild with that bucket list animal staring at you in some exotic location.
We will address all of these Situational. Technical and Compositional techniques in much more detail later on in this series of wildlife blog posts. This section stresses the importance of visualizing the decisions you are going to have to make, later on, we discuss actually making them to avoid mistakes when the action starts.
We now want to end this section with a topic that we feel is extremely important to keep in mind. Keeping yourself safe through some sound decision-making, and respecting our environment