
Our 15 Essential Wildlife Editing Steps
Our 15 Essential Wildlife Editing Steps
In this post-processing section, we want to share the 15-step processing workflow that we apply to every wildlife image. This list covers all the steps that you should consider when processing your images. It’s not intended to be a list of actions you must take, just things to think about as you process your images.
Step 1: Creative Direction
Before you use any of the processing tools, evaluate the picture, and decide on a creative direction that you want to take. What do you want the final look to be, and what will need to happen in order to achieve it? Even though it might change along the way, visualizing the final result is a critical first step. You need to have a goal in mind so that you can know if you achieved it.
Sometimes the creative direction is obvious. Other times it’s not. When you struggle with a scene, it might help to mix up the 14 steps and take them out of order, just to see what it will look like cropped a certain way, or maybe use the curve whip to see what details are in the shadows or sky. Perhaps you need to use a graduated filter on the sky to see what that looks like before you do anything else.
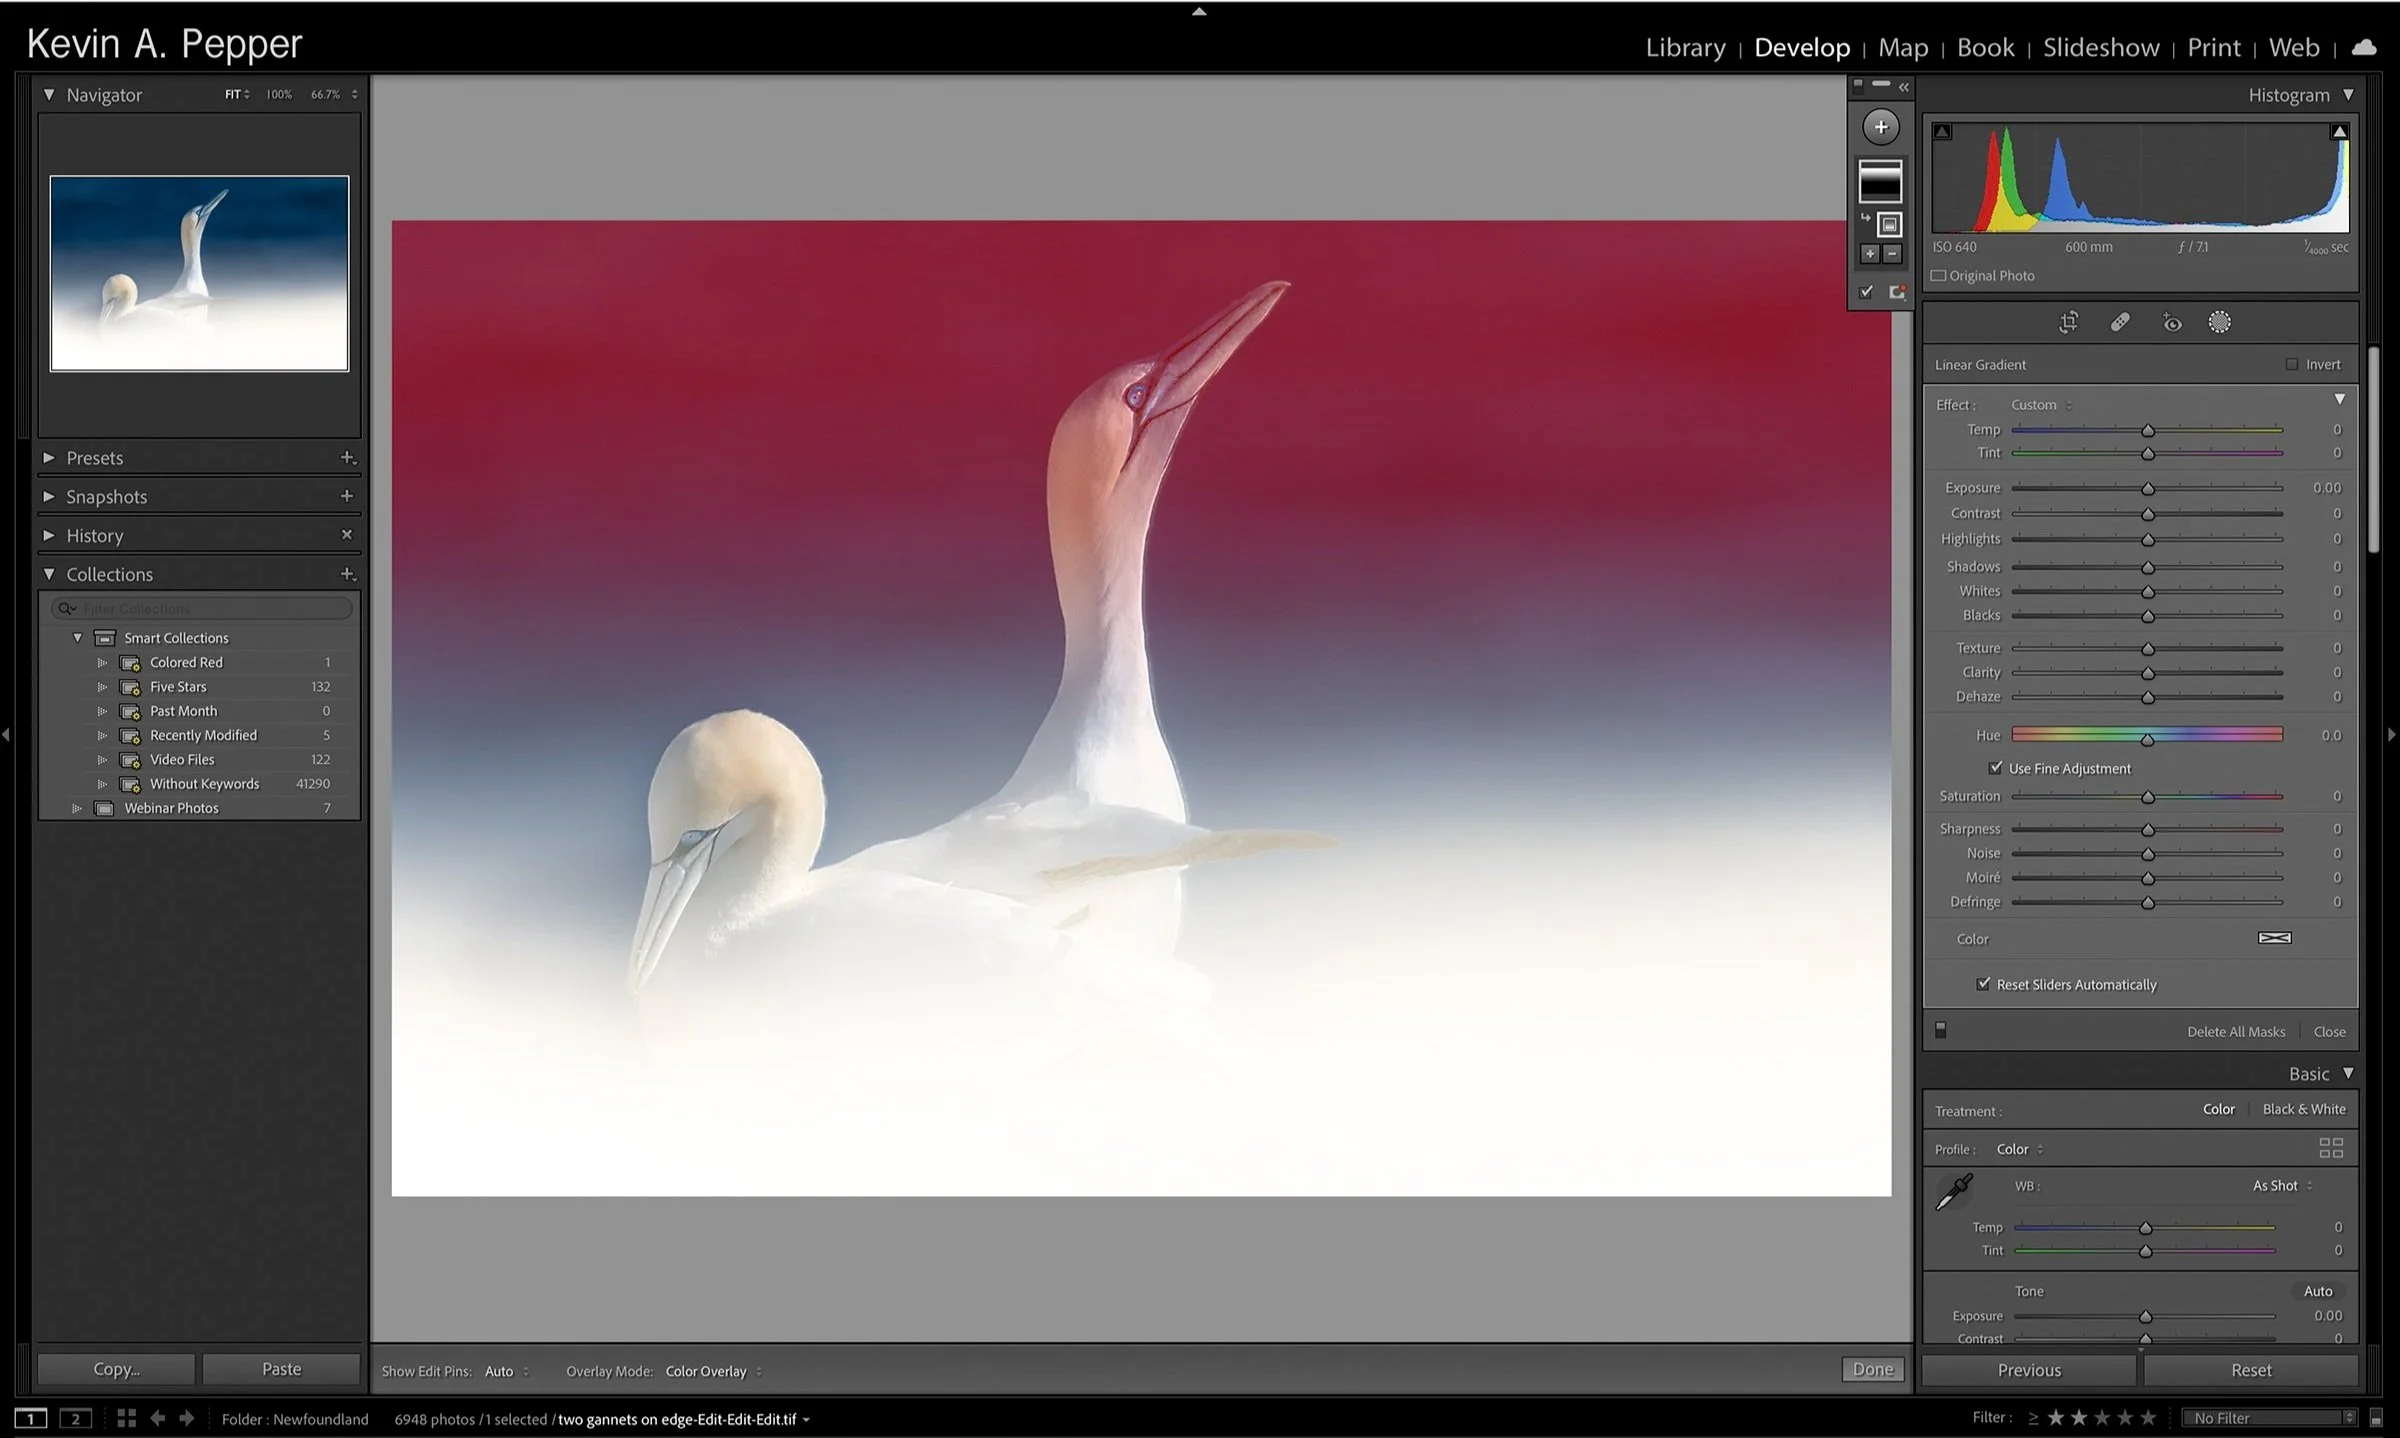
Step 2: Masking Plan
Before you make any global edits to your image, evaluate regions of the photo where you know you will apply local edits using masks. For example, you may want to add contrast to clouds in the sky, brighten a foreground, or isolate an animal that you want to highlight in a scene.
Make a mental roadmap of the different regions where you plan to apply edits using masks. The key here is to think locally about edits before performing global edits. I must repeat that this is a conceptual guide, and no physical edits are made, just a pre-visualization.
Step 3: Camera Profile
Your camera profile determines the starting point for processing an image. Starting with the right profile gives you the most latitude for making your edits. Starting with the wrong profile can leave with too much initial contrast and saturation, constraining the sorts of edits you can perform.
Before you start editing, always confirm that you are using one of your preferred camera profiles.
Step 4: Lens Corrections
Every lens has some amount of lens distortion or aberrations. Always confirm that you are removing chromatic aberration and enabling lens profile corrections before you crop the image. The only exception to this would be for creative distortions on specialized lenses, like a fisheye, where you want the distortion to remain.
Step 5: Geometry
Shots taken with a wide-angle lens at an angle to the subject could have converging vertical lines. In architectural photography, often the goal is to remove those keystoning effects using the Transform tool.
In nature, the choice is less obvious. Sometimes this sort of distortion may work with a scene, and other times you may want to remove it with the Transform tool.
Either way, always check the image to see if you want to apply any Transform tool edits before you move on to cropping it.
Step 6: Crop
Few editing decisions can have as much impact as deciding how to crop an image. Not every image fits nicely into the aspect ratio of your camera sensor.
Considering this in the field helps most of all, but often we don’t think of it or don’t have time. Making the final decision in post-processing will usually work, but you need to be careful not to crop so much that you lose too much resolution.
There might be times you may need to match a prescribed aspect ratio. But as much as possible, I recommend that you let your image’s content determine the final crop. You don’t have to stick to the standard aspect ratios.
Just be sure that you complete the crop before you continue editing!
Step 7: White Balance
Evaluate the white balance of the image. Sometimes, the camera’s auto white balance gets it right, and no changes are needed. But, often a minor tweak will help significantly.
Other times, there may be an overall color cast to the image. In some cases, you’ll want to neutralize the color cast, but in other cases, perhaps at dawn or dusk, it’s good to leave some amount of natural color cast.
Step 8: Tonal Range and Contrast
Using a combination of the Tone Curve, Histogram, and Basic Panel set the overall tonal range and global contrast for the image. While you do this, keep in mind areas where you plan to make local edits so that you don’t overdo any global adjustments.
Step 9: Color Enhancements
Many images can be improved by adjusting specific colors, either hue, saturation, or luminance. Perhaps you want to desaturate a blue sky or boost orange leaves in fall colors. Or maybe you want to apply or enhance specific tints in the shadows or highlights.
This is the time to use the HSL/Color Panel or the Color Grading Panel. This isn’t an adjustment to make on every image, but evaluate any color adjustments before moving on.
Step 10: Masking
With global edits done, for now, it’s time to put your masking plan into action. Make the selections with the filters, then follow up with adjustments. Remember, these can all be adjusted later.
Step 11: Spot Removal
Remove all sensor dust, branches, or junk you don’t want. If there are many spots or the object removal is complex, remember that Photoshop may be a good option.
Step 12: Sharpening & Noise Reduction
One of the final editing touches is to apply sharpening and remove digital noise from your images in the Detail Panel.
The default input sharpening settings can often be improved. Also, check for luminance and color noise and make adjustments to remove them when needed.
Step 13: Spot Sharpening & Enhancement
Some images have small regions that can benefit from additional sharpening or enhancement. For example, lighten up eyes in wildlife, or bring out texture in the leaves of a tree. Adding texture, sharpening, or noise reduction to small regions can add a final touch to your image.
Step 14: Enhance the Eyes
Sometimes, heck most of the time, the eyes will not have enough pop to enforce that connection with the animal you are looking for. You want to lighten and enhance the colors in the eyes to make them quickly identifiable. Do not push them too far to make them look unrealistic, just enhance the features.
By using the adjustment brush, I would suggest you gradually lighten, saturate the colors, and darken the blacks of the pupil.
Be careful not to brush outside the eye. If you apply these steps outside the eyeball, you will apply these settings to the fur and feathers, ruining the intent.
Step 15: Final Check
Before you decide that an image is complete, run through a set of final checks. Confirm the bright and dark points and evaluate the histogram for overall brightness. Check for any clipping in the shadows and highlights that you might have introduced.
Evaluate the overall colors in this step. Did you leave any unintended color casts, and do the colors look natural and represent the scene you captured?
Lastly, check to ensure that none of your edits introduced color banding in areas of color gradients or haloes around the edges.
Take a break and walk away from the image so that you can see it with a more critical eye when you return. This is also a point where it may make sense to ask for family or friends’ opinions. You’ll be surprised at how many good ideas come from others.